
")
")


")

")

")

")
")
")
")
")
")
")
")

Support stronger, healthier nails while achieving flawless colour and finish.
This professional nail care and polish collection combines nourishing treatments with high-performance lacquers designed to protect, strengthen, and enhance natural nails. From restorative care to chip-resistant, salon-quality shades, every product is chosen to promote nail health while delivering beautiful, long-lasting results.
-
 Sale Sold outPediPro Pedicure Kit (pedi like the pros)Regular price $37.56Sale price $37.56 Regular priceUnit price per
$46.95 -

 Sale Sold out
 -
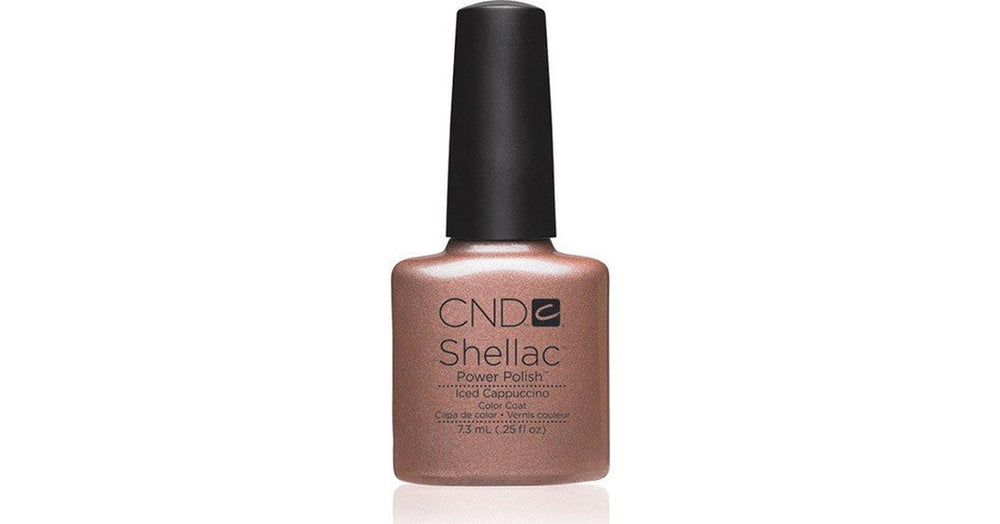
 Sale Sold outCND Shellac - Iced Cappuccino (0.25oz.)Regular price $21.00Sale price $21.00 Regular priceUnit price per
$26.25 -

 Sale Sold outCND Shellac - Rebellious Ruby (0.25oz.)Regular price $21.00Sale price $21.00 Regular priceUnit price per
$26.25 -
 Sale Sold outCND Shellac - Soulmate (0.25oz.)*Regular price $21.00Sale price $21.00 Regular priceUnit price per
$26.25 -

 Sale Sold outCND Shellac - White Wedding (0.25oz.)Regular price $21.00Sale price $21.00 Regular priceUnit price per
$26.25 -

 Sale Sold outCND Shellac - After Hours (0.25oz.)*Regular price $21.00Sale price $21.00 Regular priceUnit price per
$26.25 -

 Sale Sold outCND Shellac - Among The Marigolds (0.25oz.)Regular price $21.00Sale price $21.00 Regular priceUnit price per
$26.25 -

 Sale Sold outCND Shellac - Arrowhead (0.25oz.)Regular price $21.00Sale price $21.00 Regular priceUnit price per
$26.25 -

 Sale Sold outCND Shellac - Asphalt (0.25oz.)Regular price $21.00Sale price $21.00 Regular priceUnit price per
$26.25 -

 Sale Sold outCND Shellac - Aura (0.25oz.)Regular price $21.00Sale price $21.00 Regular priceUnit price per
$26.25 -

 Sale Sold outCND Shellac - Aurora (0.25oz.)Regular price $21.00Sale price $21.00 Regular priceUnit price per
$26.25 -

 Sale Sold outCND Shellac - Baby Smile (0.25oz.)Regular price $21.00Sale price $21.00 Regular priceUnit price per
$26.25 -

 Sale Sold outCND Shellac - Banana Clips (0.25oz.)*Regular price $21.00Sale price $21.00 Regular priceUnit price per
$26.25 -

 Sale Sold outCND Shellac - Bare Chemise (0.25oz.)Regular price $21.00Sale price $21.00 Regular priceUnit price per
$26.25


Your At-Home Spa Just Got an Upgrade – Meet the PediPro Kits.
PediPro


Professional-looking, healthy, long-lasting nails start here
CND treatments
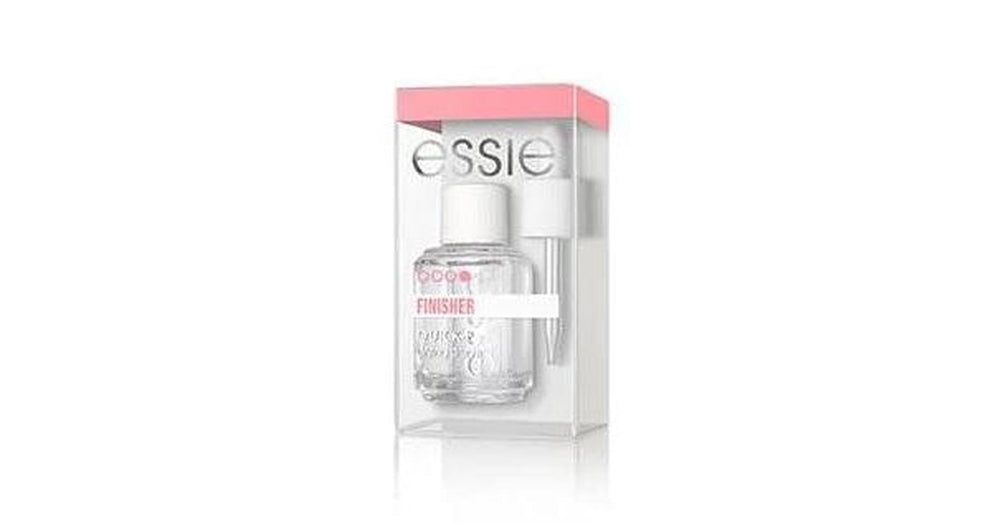
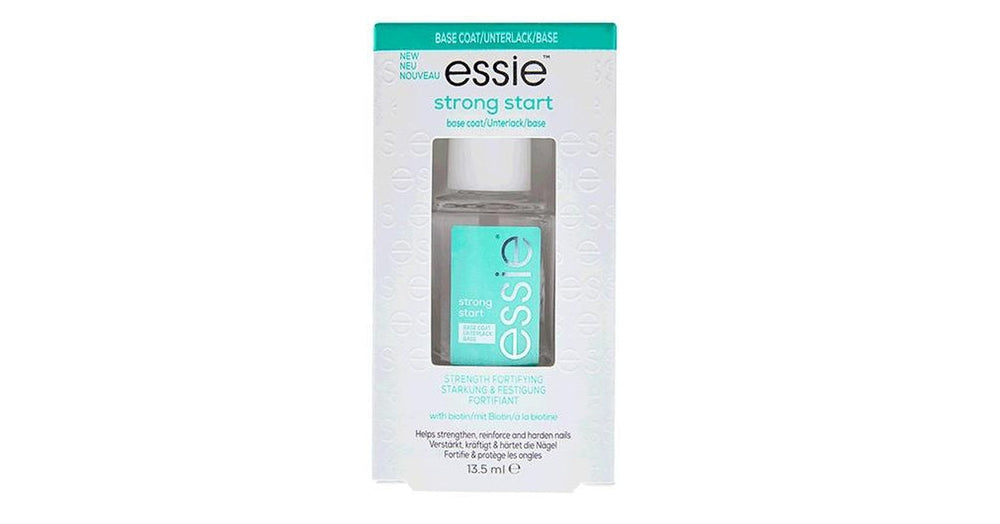
essie top, base coats & treatments
OPI coats & care
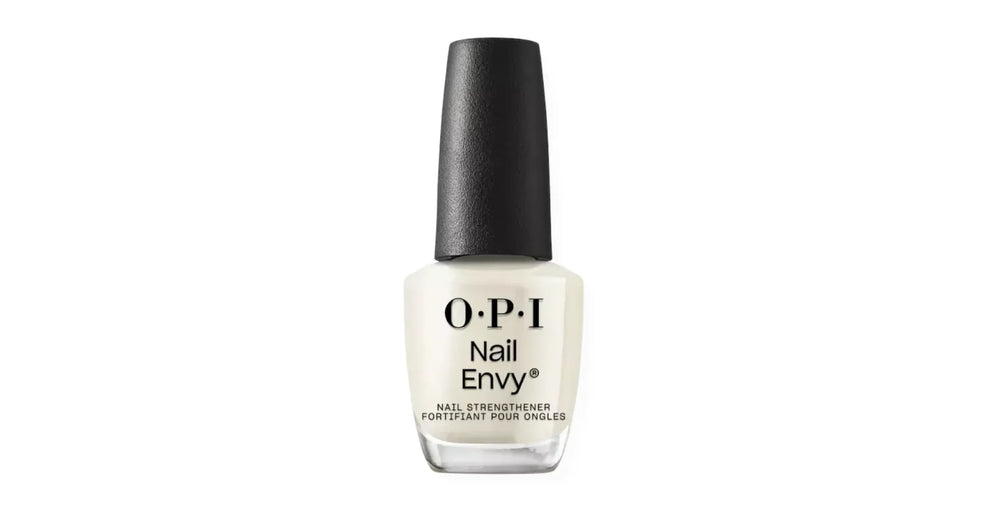
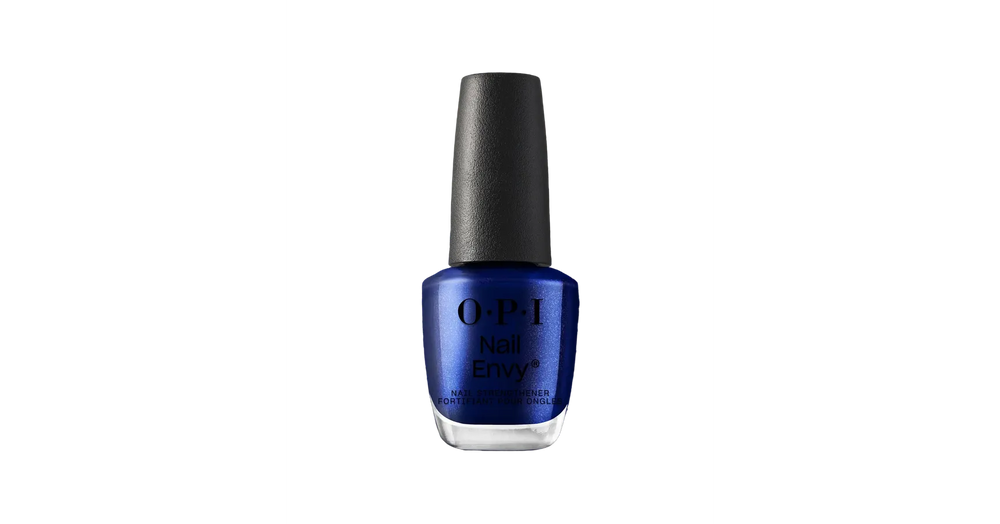
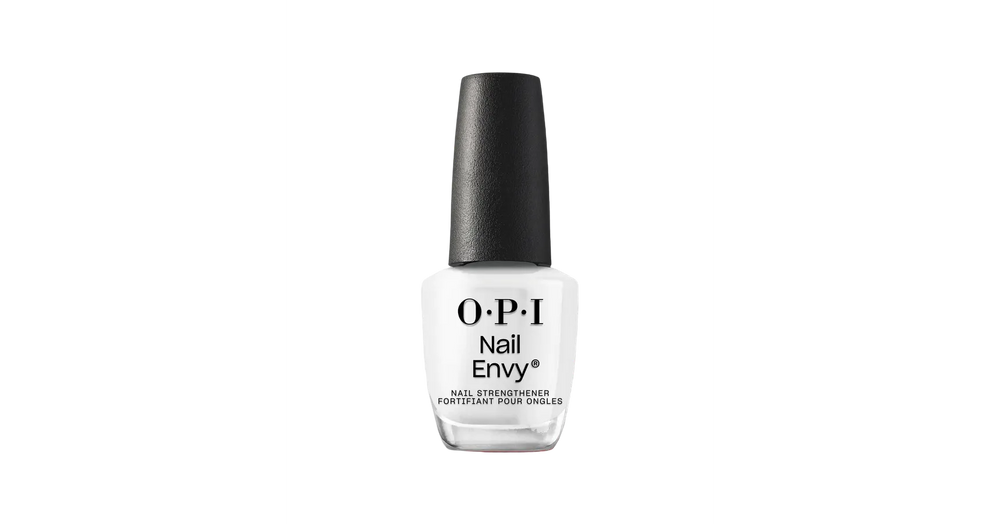
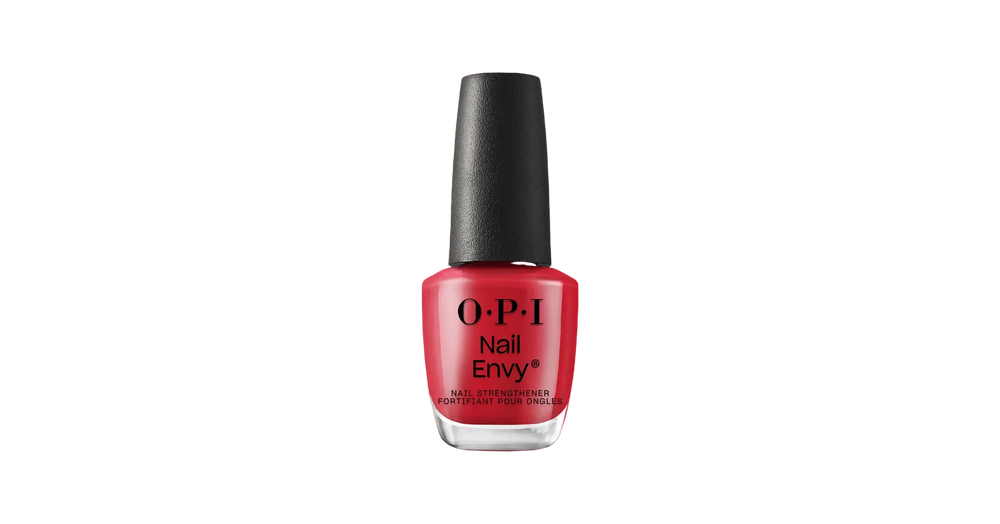
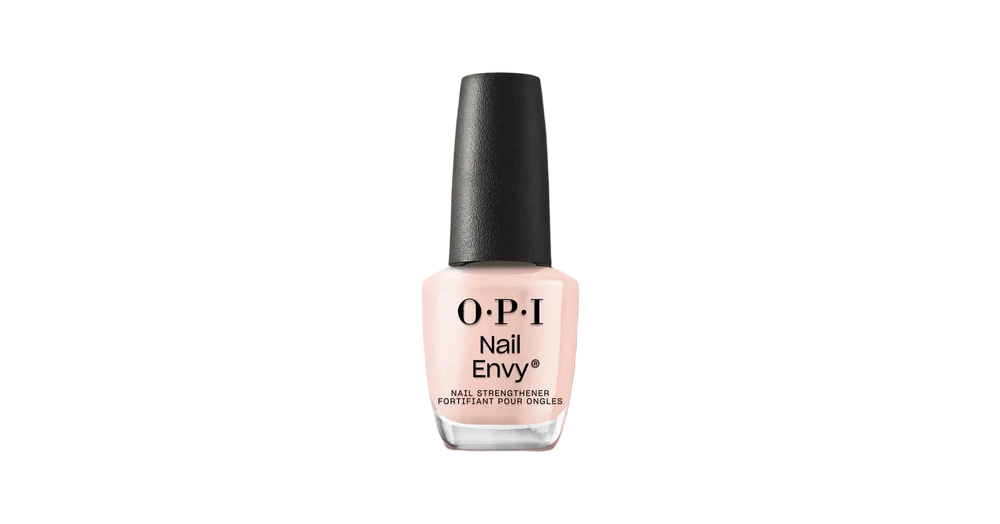
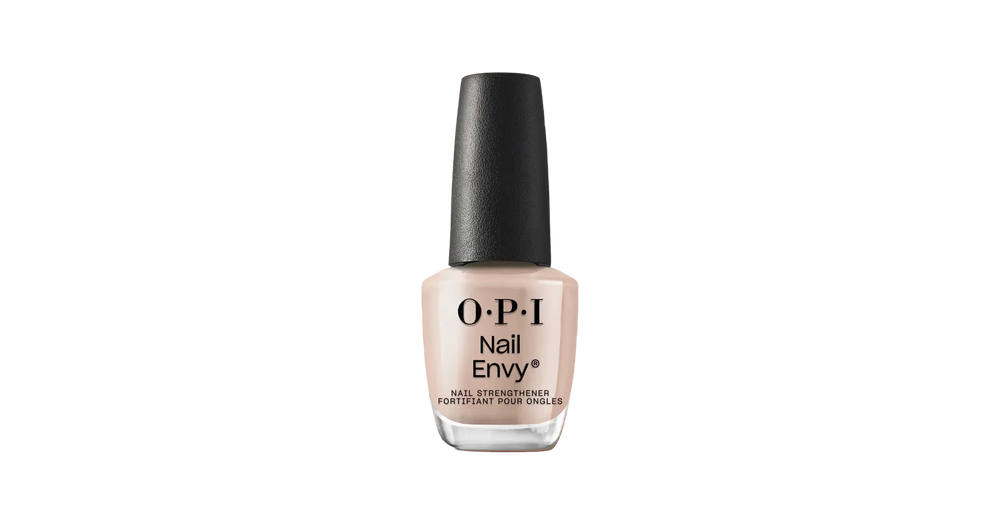
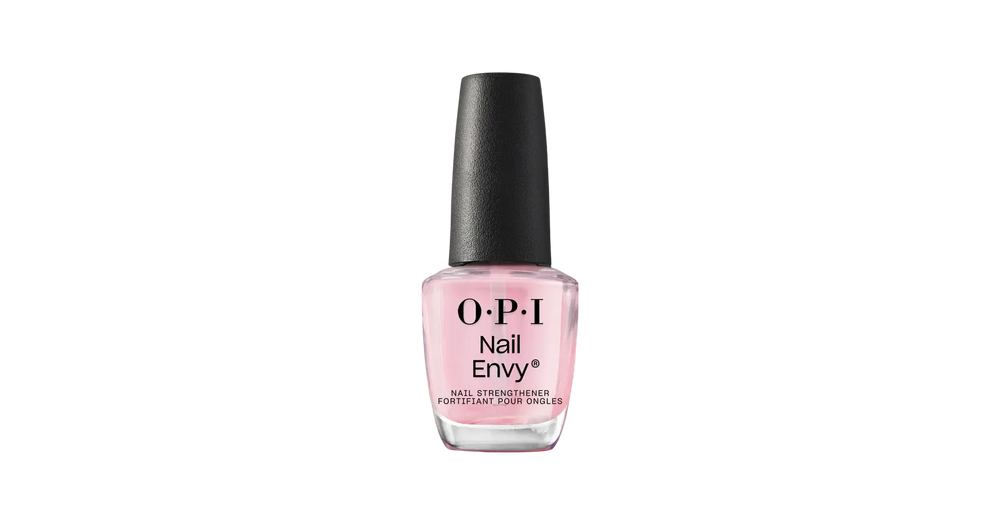
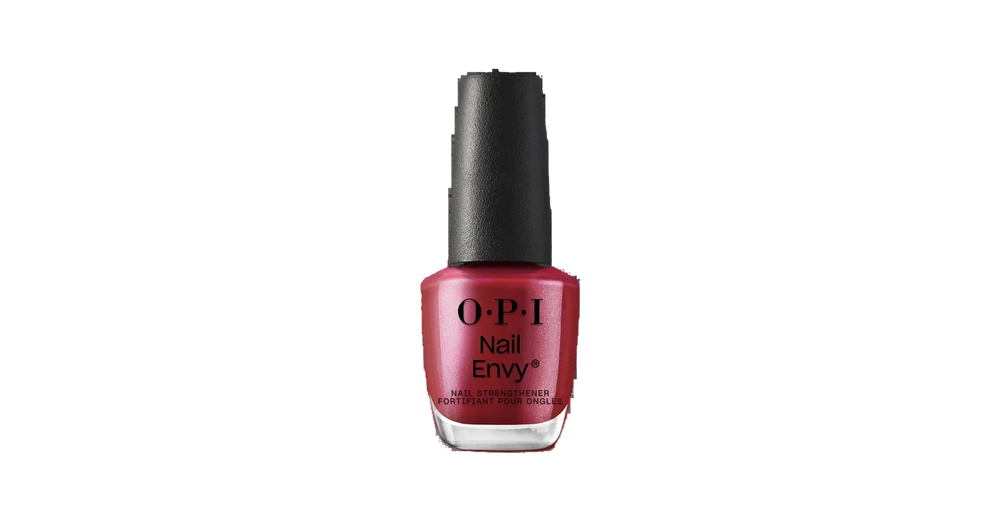
OPI Nail Envy strengtheners
UV & LED Nail Lamps


Nail tips from the pros

the perfect at-home DIY manicure!
Selecting a colour from the ever-growing essie rainbow is only half the battle. Master your next mani with this simple step-by-step from Rita Remark, celebrity manicurist and essie Global Lead Educator. Find out her top tips for keeping cuticles in check, preventing chips, repairing weak nails, and creating fresh-from-the-salon results that last.
7 steps to fabulous at-home nails
Shop professional beauty brands and products at great prices 🛍
-

Free shipping over $90*
Take advantage of free shipping when you order $90 or more (before taxes).
-

Use what the pro's use
Access some of the most sought-after, high-quality brands and products used by industry professionals.
-

Earn loyalty reward points 🎉
Sign up for loyalty rewards >Earn valuable points when you shop and redeem them for more great products. Sign up today to earn and save!


